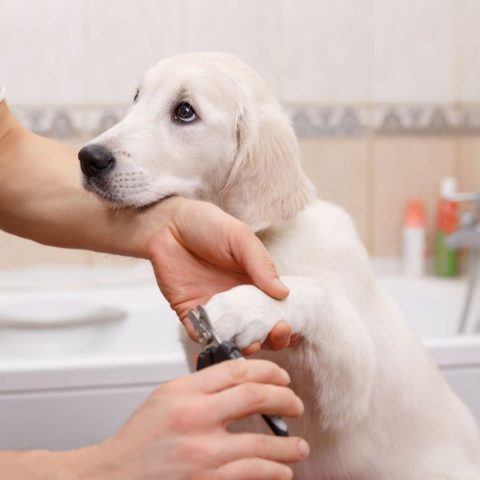
You’ve probably been there – your dog’s nails are getting too long, and you’re worried about them scratching the furniture or, worse, themselves. To avoid this, you know you need to trim their nails, but the thought of doing it yourself can be intimidating. Cutting your dog’s nails safely requires more than just a pair of clippers; it demands a gentle, gradual approach that prioritizes their comfort and safety above all. By following the right steps, you can guarantee a stress-free nail-trimming experience for both you and your dog – but where do you start?
Prepare Your Dog for Trimming

Get your dog accustomed to having their paws touched and handled by gently massaging their toes and feet during regular play or grooming sessions. This helps them become comfortable with the sensation, making nail trimming a breeze. Use Positive Reinforcement techniques, such as treats and praise, to associate paw handling with positive outcomes. As you massage, gradually introduce your dog to the sensation of having their paws lifted and held. This socialization technique will help them feel more at ease when it’s time for trimming.
During these sessions, pay attention to your dog’s body language. If they show signs of anxiety or discomfort, slow down and let them set the pace. Respect for their boundaries and building trust is crucial. With consistent practice, your dog will learn to relax and even enjoy the attention. Remember, the goal is to create a positive experience, not to rush the process. By taking the time to prepare your dog, you’ll set yourself up for a successful and stress-free nail trimming experience.
Gather Essential Nail Trimming Tools
Now that your dog is ready for trimming, it’s time to gather the essential tools you’ll need to get the job done safely and effectively. You’ll need to choose the right nail clippers, select a suitable nail file, and consider comfortable restraint methods to keep your dog calm and secure. By having these tools at your fingertips, you’ll be well-prepared to tackle the nail trimming process with confidence.
Nail Clipper Selection
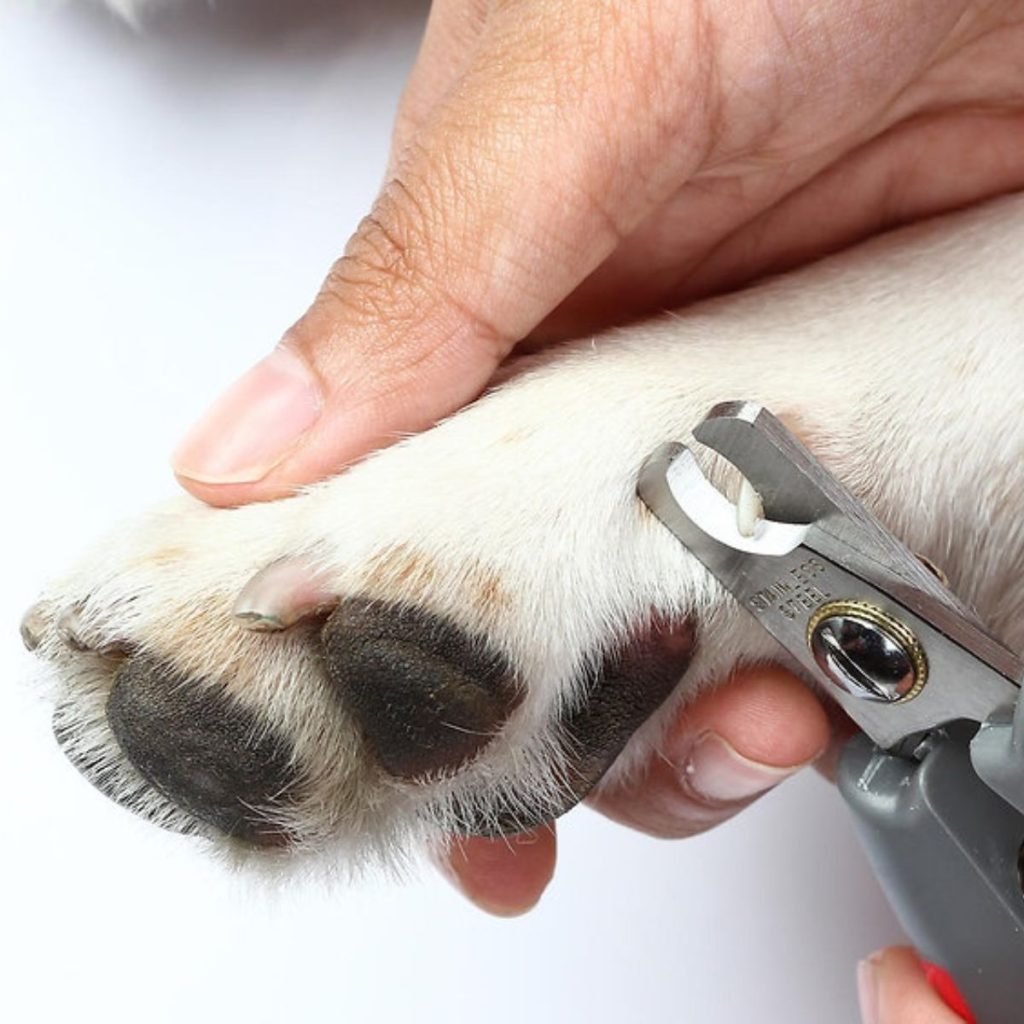
You’ll need to choose the right nail clippers for your dog’s nail type and size to facilitate a safe and effective trimming experience. With various clipper materials available, select one that suits your dog’s needs. Stainless steel clippers are durable and resistant to rust, while scissor-style clippers are better for dogs with thicker nails. If your dog has dark nails, consider clippers with a built-in nail lamp to help you see the quick more clearly.
Proper clipper maintenance is vital to maintain cleanliness and longevity. Regularly clean your clippers with soap and water, and dry them thoroughly to prevent rust. You can also use a clipper cleaning solution to sanitize them. Store your clippers in a safe place, out of your dog’s reach, to avoid accidental injuries. By choosing the right clippers and maintaining them properly, you’ll be well on your way to trimming your dog’s nails with confidence and ease. Remember, the right tools make all the difference in a successful nail trimming experience.
Nail File Options
In addition to nail clippers, a nail file is another essential tool to have in your dog nail trimming arsenal, as it helps smooth out rough edges and gives the nails a healthy appearance. When choosing a nail file, consider the type of material it’s made of. You’ll find files made from various materials, including emery boards, diamond stones, and ceramic files. Emery boards are a popular choice, but they can be coarse and may cause nail splitting. Diamond stones, on the other hand, are gentler and ideal for nail shaping. Ceramic files are another option, offering a smooth, gentle touch.
When selecting a nail file, think about your dog’s nail type and your personal comfort level. If you’re new to nail trimming, a diamond stone or ceramic file might be a better choice. These files are designed for gentle, precise nail shaping and can help you achieve a smooth, rounded edge. Remember, a good nail file is vital for giving your dog a professional-looking trim, so don’t skimp on quality. With the right file, you’ll be able to give your dog the nail care they deserve.
Comfortable Restraint Methods
With your nail clippers and file ready, it’s time to focus on keeping your dog comfortable and secure during the trimming process. You want to make sure your furry friend feels safe and relaxed, so they don’t get anxious or try to squirm away. Comfortable restraint methods are key to a successful nail trimming session.
Here are some tips to help you achieve a Calming Touch:
| Method | Description | Benefits |
|---|---|---|
| Gentle Hold | Hold your dog’s paw firmly but gently, making sure not to constrict their movement. | Helps them feel secure and builds trust. |
| Lap Restraint | Sit with your dog on your lap, wrapping your arms around them to keep them still. | Provides a sense of security and closeness. |
| Table Restraint | Place your dog on a table or elevated surface, allowing you to easily access their paws. | Gives you better control and visibility. |
| Assistant Hold | Have someone assist you in holding your dog, freeing up your hands for trimming. | Allows for a more efficient and stress-free experience. |
Choose the Right Nail Clippers
When selecting nail clippers for your dog, you’ll want to think about a few key factors to guarantee you’re getting the right pair. You’ll need to ponder the type of clippers that suit your dog’s nail type, as well as the size of their nails. By choosing clippers that fit these needs, you’ll set yourself up for a safe and successful nail trimming experience.
Clipper Types Matter
You’ll need to select the right type of nail clippers for your dog, as different breeds and nail types require specific clipper designs to avoid causing damage or discomfort. For instance, dogs with thick or hard nails may require clippers with durable clipper materials, such as stainless steel or high-carbon steel, to effectively cut through their nails. On the other hand, dogs with thin or brittle nails may benefit from clippers with softer materials, like titanium or ceramic, to prevent breakage.
When choosing the right clippers, don’t forget to think about safety features. Look for clippers with guards or stops to prevent over-clipping, which can be painful for your dog. You may also want to opt for clippers with ergonomic handles or non-slip grips to provide a comfortable hold. Additionally, some clippers come with safety locks or storage cases to prevent accidental cuts or injuries. By selecting the right type of nail clippers, you’ll be able to trim your dog’s nails safely and effectively, building trust and strengthening your bond with them.
Nail Size Considerations
Selecting nail clippers that match your dog’s nail size is essential, as clippers that are too small can cause crushing or splitting, while those that are too large can lead to incomplete cuts. You want to choose clippers that fit comfortably around your dog’s nail, without being too tight or too loose.
Some key factors bear in mind when choosing the right nail clippers for your dog:
- Paw shape: Dogs with thicker paws, like bulldogs, require larger clippers to accommodate their paw shape. Breeds with slender paws, like greyhounds, need smaller clippers.
- Nail thickness: Thicker nails require larger clippers, while thinner nails need smaller ones.
- Breed standards: Research the breed standards for your dog’s breed to determine the ideal nail size and shape.
Ergonomic Handle Design
With the right nail size considerations in mind, you’re now ready to focus on the handle design of your clippers, a feature that can make a significant difference in your nail-trimming experience. A comfortable and ergonomic handle can reduce fatigue and make the trimming process smoother for both you and your dog.
When choosing the right clippers, look for handles with the following features:
| Feature | Description | Benefits |
|---|---|---|
| Contoured grip | Curved shape that fits comfortably in your hand | Reduces slipping and strain |
| Balanced weight | Evenly distributed weight for easy maneuverability | Improves control and precision |
| Non-slip material | Textured or rubberized material for a secure hold | Prevents accidents and drops |
| Adjustable grip | Accommodates different hand sizes and styles | Suitable for multiple users or hand preferences |
Get Your Dog Accustomed to Touch
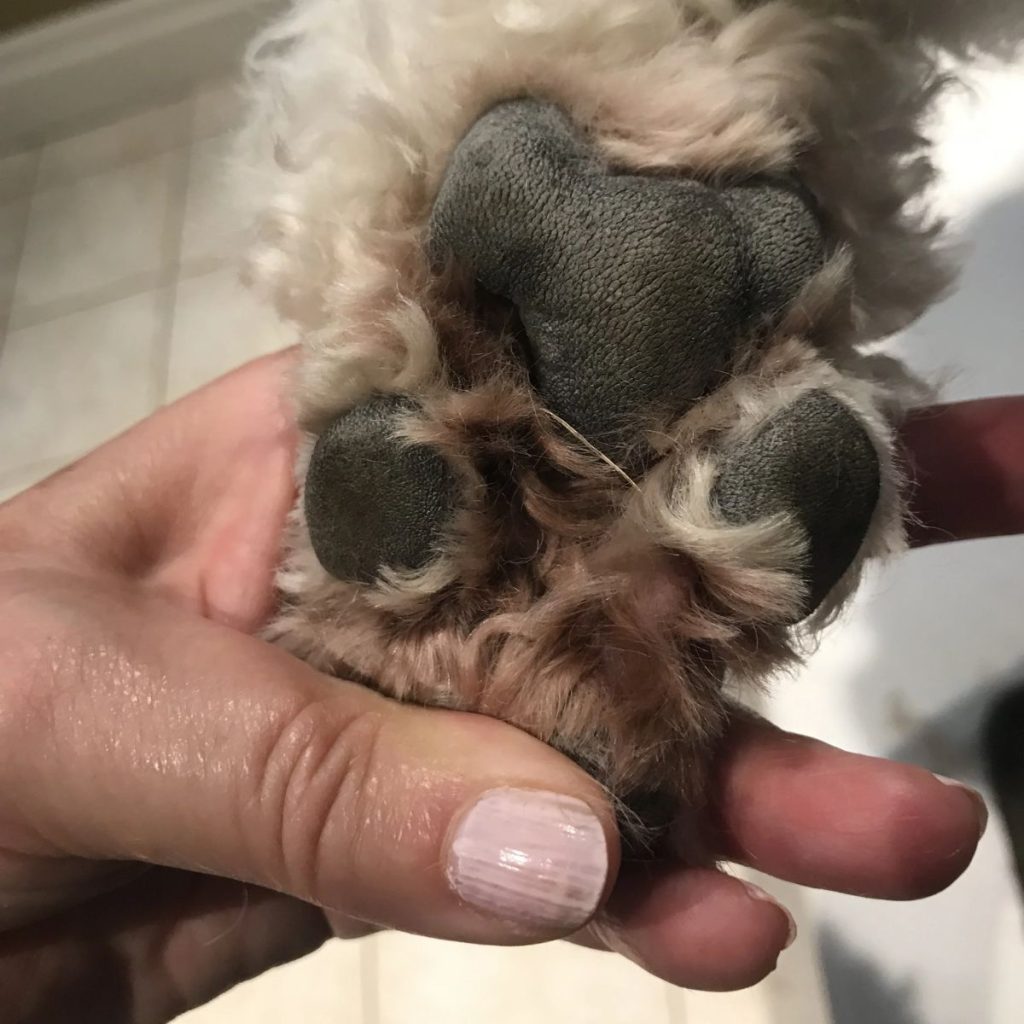
Get your dog comfortable with being touched by gently massaging their paws, starting with short sessions and gradually increasing the duration. This sensory exploration will help your dog relax and build trust with you. As you massage, pay attention to your dog’s body language and reactions. If they seem uncomfortable or try to pull away, stop immediately and try again another time.
- Make it a game by incorporating treats and praise to create a positive association with touch.
- Start with small areas, such as the paw pads, and gradually move to the toes and nails.
- Be patient and consistent, as building trust takes time and effort.
Identify the Quick in Your Dog’s Nails
You’ll need to locate the quick, a sensitive area inside your dog’s nail that contains nerves and blood vessels, to avoid cutting into it and causing pain or bleeding. Understanding nail anatomy is key to finding the quick. The nail consists of the outer layer, the nail plate, and the inner layer, the nail bed. The quick is located within the nail bed, closer to the cuticle.
To locate the quick, gently press on the nail to make it turn white. This will give you an idea of where the quick starts. You can also shine a flashlight through the nail to see the quick’s pinkish color. Hold your dog’s paw firmly but gently, and examine the nail from different angles. You might need to trim a bit of hair around the nail to get a better view.
Select the Correct Nail Trimming Angle
When selecting the correct nail trimming angle, you’ll want to take into account the natural curve of your dog’s nails and the direction of the quick. This will help you determine the safest and most effective angle for trimming. By getting this angle right, you’ll be able to make clean cuts that follow the natural shape of the nail.
Nail Angle Considerations
Determining the correct nail trimming angle is essential to avoid cutting the quick, a sensitive part of the nail that contains nerves and blood vessels. You’ll want to trim your dog’s nails at an angle that follows the natural curve of the nail. This will help you avoid cutting too short and causing pain or bleeding.
Nail curvature: The angle of the trim will depend on the natural curve of your dog’s nail. For dogs with more curved nails, you’ll want to trim at a slightly more aggressive angle to follow the curve.
Angle precision: It’s essential to trim at the correct angle to avoid cutting the quick. A good rule of thumb is to trim at an angle that’s parallel to the nail bed.
Visual inspection: Before you start trimming, take a close look at your dog’s nails to get a sense of their natural curve and shape. This will help you determine the best angle for trimming.
Proper Cut Alignment
To achieve proper cut alignment, position the clippers so that they’re parallel to the nail bed and aligned with the natural curve of the nail. This guarantees a smooth, even cut that won’t split or crack your dog’s nails. Pay attention to the Angle Markers on your clippers, which serve as a visual guide to help you maintain the correct angle.
Next, use the Cutting Guides on your clippers to identify the quick, the sensitive part of the nail that contains nerves and blood vessels. You’ll want to cut just before the quick, taking care not to cut too short. If you’re unsure, it’s always better to err on the side of caution and take smaller, more frequent cuts. Remember, proper cut alignment is key to avoiding painful cuts and promoting healthy nail growth. By following these steps, you’ll be well on your way to giving your dog a safe, stress-free nail trim.
Trim a Little at a Time for Safety
You’ll reduce the risk of cutting into the quick by trimming just a little of your dog’s nail at a time, taking breaks in between to assess your progress. This approach also helps to minimize nail anxiety in your dog, making the experience less stressful for both of you. By trimming small amounts and taking breaks, you’re practicing gradual exposure, allowing your dog to become comfortable with the process.
Here are some benefits of trimming a little at a time:
- Less chance of cutting the quick: You’ll be less likely to cause pain and bleeding.
- Reduced nail anxiety: Your dog will feel more at ease, making the experience better for both of you.
- Better control: You’ll have more control over the trimming process, ensuring a safer and more precise trim.
Cut the Nails in Small Increments
Now that you’ve mastered the art of trimming a little at a time, it’s time to focus on cutting those small increments with precision. This gradual trimming approach is vital for nail safety, as it allows you to avoid cutting the quick, which can be painful for your dog. Start by identifying the quick, which is the pinkish-colored part inside the nail. Then, using nail clippers specifically designed for dogs, trim just a tiny bit of the nail, about 1/16 of an inch. Take a break, give your dog a treat, and reassess the nail. Repeat this process, cutting small increments, until you’ve reached the desired length. Remember, it’s better to err on the side of caution and take multiple small cuts than to risk cutting the quick. By cutting in small increments, you’ll provide a safe and stress-free nail trimming experience for both you and your dog.
Reward and Praise Your Dog’s Cooperation
As your dog remains calm and still during the nail-trimming process, be sure to reward and praise their cooperation with treats and affection. This positive reinforcement will help your dog associate the nail-trimming experience with good behavior, making future sessions easier and less stressful.
When your dog exhibits calm behavior, be sure to:
- Provide verbal affirmation, such as “good boy” or “good girl,” to reassure them that they’re doing well.
- Offer treats, such as small pieces of cooked chicken or cheese, to reward their cooperation.
- Give physical affection, like gentle pats or scratches behind the ears, to show your appreciation for their calm behavior.
Monitor and Maintain Nail Health
Monitor and Maintain Nail Health
Regular nail checks help detect potential problems, such as cracks, splits, or discoloration, before they become serious health issues. By monitoring your dog’s nail health, you can identify signs of underlying health problems and take action to prevent more serious issues from developing.
Nail color can be an indicator of your dog’s overall health. Healthy nails are typically pinkish or white. Other colors can be a sign of an underlying issue:
| Nail Color | Health Signs |
|---|---|
| Pinkish/White | Healthy nails |
| Yellow/Brown | Fungal infection |
| Black | Possible melanoma |
| Red/Pink | Inflammation or injury |
| Brittle/Soft | Nutritional deficiency |
Keep an eye out for any changes in your dog’s nail color, growth rate, or overall appearance. If you notice any unusual signs, consult with your veterinarian to rule out underlying health issues. Regular nail trimming and maintenance can also help prevent health problems, such as painful cracked paws or infections. By staying on top of your dog’s nail health, you can promote their overall well-being and happiness.
Frequently Asked Questions
What if My Dog Has Black Nails and I Can’t See the Quick?
If your dog has black nails and you can’t see the quick, you’re not alone! Try using nail lighting to illuminate the nail, or look for nail translucency to gauge the quick’s location, and cut carefully to avoid it.
Can I Use Human Nail Clippers on My Dog’s Nails?
Can you really expect human nail clippers to effectively trim your dog’s unique nails? Probably not. You need high-quality, dog-specific clippers, as human clippers aren’t designed for the thickness and similarity in nail structure between breeds.
How Often Should I Trim My Dog’s Nails?
You’ll need to trim your dog’s nails regularly, considering their nail growth rate, which varies by breed factors like size, age, and lifestyle. Typically, trim every 4-6 weeks, but consult your vet for a personalized schedule that suits your furry friend.
What if My Dog Has Thick or Hard Nails?
If your dog has thick or hard nails, don’t worry! You can use nail grinding or filing techniques to smooth them out, making it easier to trim them and prevent overgrowth or cracking.
Can I Trim My Dog’s Nails After Exercise or When They’re Tired?
“As you’re wrapping up a fun-filled walk or playtime, your dog’s tired eyes and relaxed demeanor beckon you to trim their nails. Go for it! Their reduced energy levels make it an ideal time to tackle the task with a more cooperative, calm companion.”
Conclusion
As you navigate the nail-trimming journey with your furry friend, remember it’s a dance of trust and patience. Each step, a delicate balance of giving and taking, like a tender gardener pruning a fragile bloom. With every snip and clip, you’re not just shaping nails, you’re nurturing a bond that grows stronger with each gentle touch. By following these 10 safe steps, you’ll cultivate a lifelong harmony of comfort and confidence, paving the way for a lifetime of happy, healthy paws.

